Why Workflow Matters
Most signage projects today follow an improvised process: mark positions in Illustrator, track codes in Excel, coordinate across floors manually, and prepare sign schedules by hand. This approach works for small projects but creates problems at scale.
When a hotel has 15 floors and 400+ signs, the disconnection between visual placement and data tracking leads to missed positions, duplicate codes, and documentation that doesn't match the actual placement.
A structured workflow solves this by connecting every step in sequence.
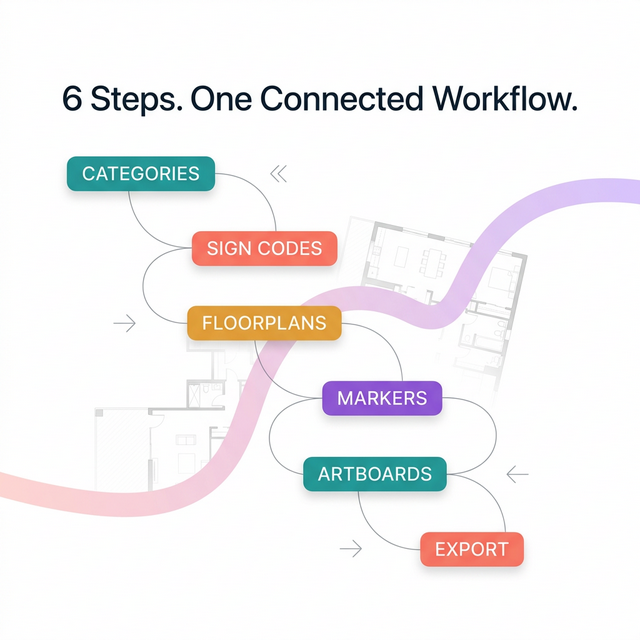
The Six-Step Workflow
Step 1: Set Up Categories
Before placing any signs, define the project's sign categories. Categories classify signs by function:
- Directional — Signs that guide movement (arrows, wayfinders)
- Identification — Signs that label spaces (room numbers, facility names)
- Informational — Signs that provide overview information (directories, maps)
- Regulatory — Signs required by law (fire exits, accessibility markers)
Categories create the structural foundation for consistent sign classification across the entire project.
Step 2: Create Sign Codes
Within each category, create specific sign codes. A sign code is a unique identifier for a sign type:
- D-01: Directional — Corridor arrow
- D-02: Directional — Overhead suspended
- ID-01: Identification — Room number plate
- R-01: Regulatory — Fire exit route plan
Each code carries metadata: description, material, dimensions, mounting method. This information flows through to the sign schedule and BOQ automatically.
Step 3: Upload Floorplans
Upload architectural floorplans into the project workspace. These serve as the spatial reference for sign placement. Each floor gets its own artboard — lobby, typical floors, basement, amenity levels, rooftop.
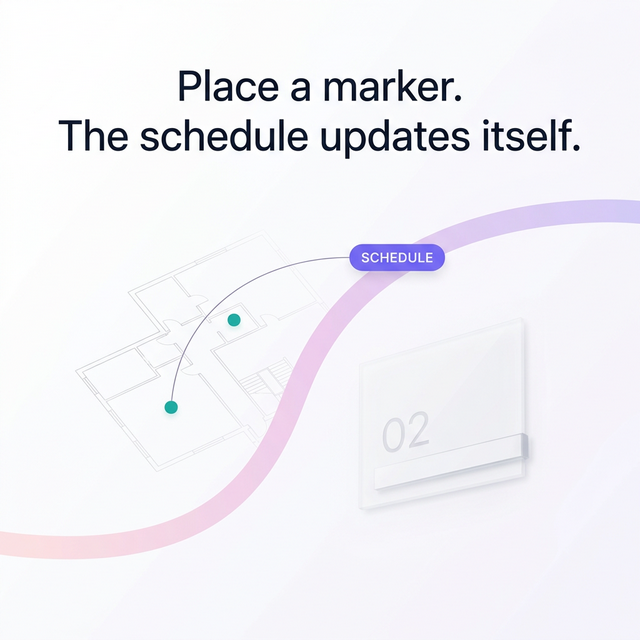
Step 4: Place Markers
Place sign markers directly on the floorplans. Each marker is tied to a sign code from Step 2. The position on the plan defines where the sign will be installed.
As markers are placed, the sign schedule builds automatically in the background. No manual data entry required.
Step 5: Arrange Artboards
Organize artboards across floors to maintain a clear overview of the full signage system. This step ensures the project structure is logical and complete — every floor accounted for, every zone covered.
Step 6: Export
Export the completed sign schedule and BOQ documentation. The schedule lists every sign with its code, type, location, floor, and quantity. The BOQ aggregates totals by type for fabrication and procurement.
Documents are formatted for client review and production handoff.
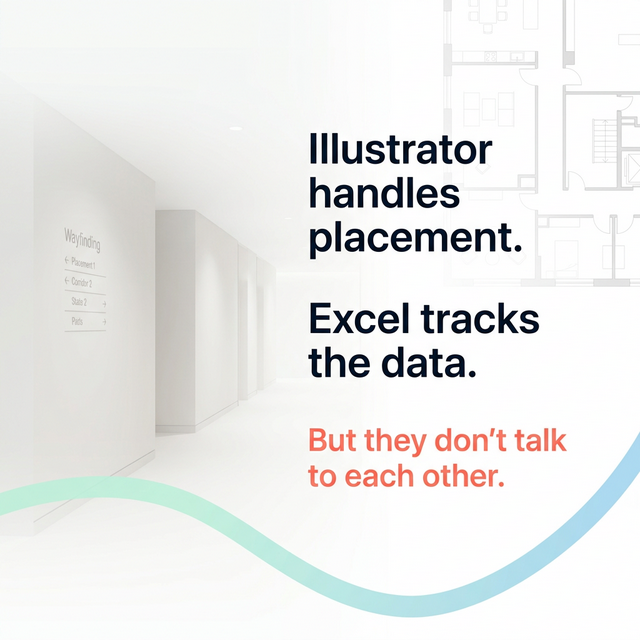
Why This Replaces Illustrator and Excel
The traditional approach uses Illustrator for visual placement and Excel for data tracking. The problem is that these tools don't talk to each other. A change in placement requires manual updates in the spreadsheet. A new sign code must be added in both places.
A structured workflow keeps placement and data connected. Place a marker, and the schedule updates. Change a sign code, and every affected marker reflects the change.
Who Uses This Workflow
- Wayfinding consultants managing signage planning for hotels, malls, and mixed-use developments
- Design studios handling signage as part of larger interior or architectural projects
- Sign makers who want to add professional planning services to their fabrication business